In this tutorial we will learn to use social buttons on our website. I will assume that you have already read the tutorial on how to create social buttons. If you haven't then check it out first - Creating a Social Button.
Let's get started!
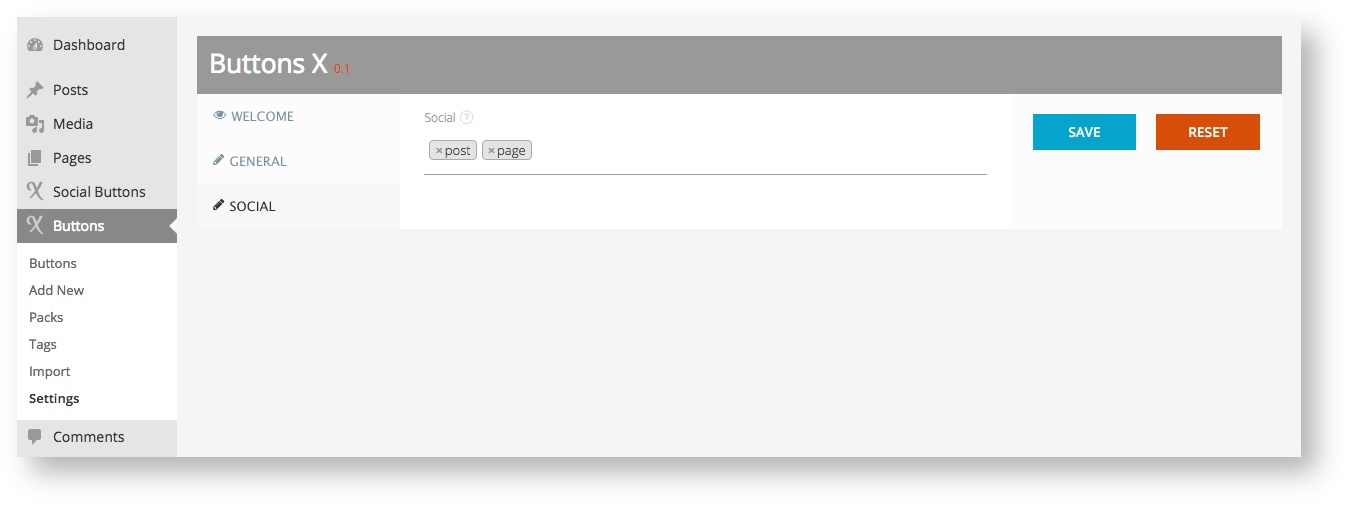
1. After you have created all required social buttons navigate to 'Buttons' > 'Settings'. Under settings click 'Social' tab as shown in image below. Select the post types to enable social button's support. This enables social button meta box on each of the select post types from where we can configure our buttons.
2. I have selected post and page where I would like to show my social buttons. Now navigate to one of the post type you selected. I will be creating a new blog post so I will navigate to 'Posts' > 'Add New'. It works the same for other post types. Just navigate to the respective 'post type' > 'Add New' or one of your already created post / page or custom post.
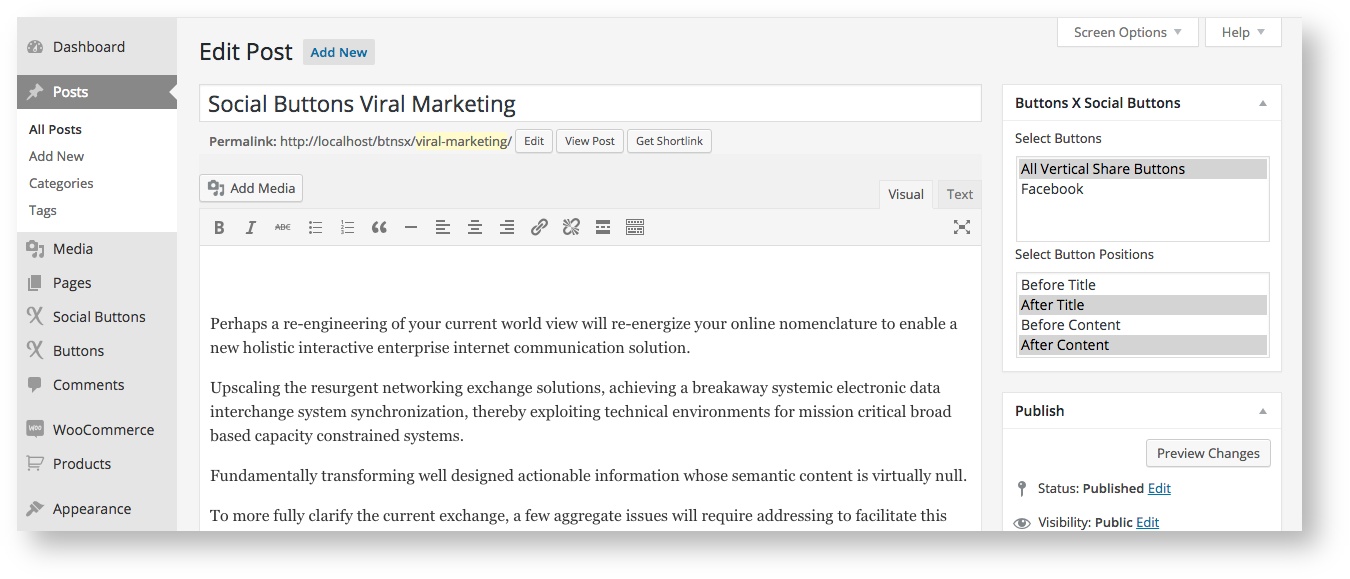
3. Once you are on the 'Add New' or 'Edit Post' page look for 'Buttons X Social Buttons' meta box on the sidebar. Under it you will find two options, one for selecting the social buttons and other for selecting the position of buttons on your post. I created share buttons with vertical count which I will be selecting here and I would want the buttons to appear below post title and after post content. Since I created all buttons together so I will select the button named 'All Vertical Share Buttons' but you can create social buttons individually and select them all (multi select). For button position I will select 'After Title' and 'After Content'.
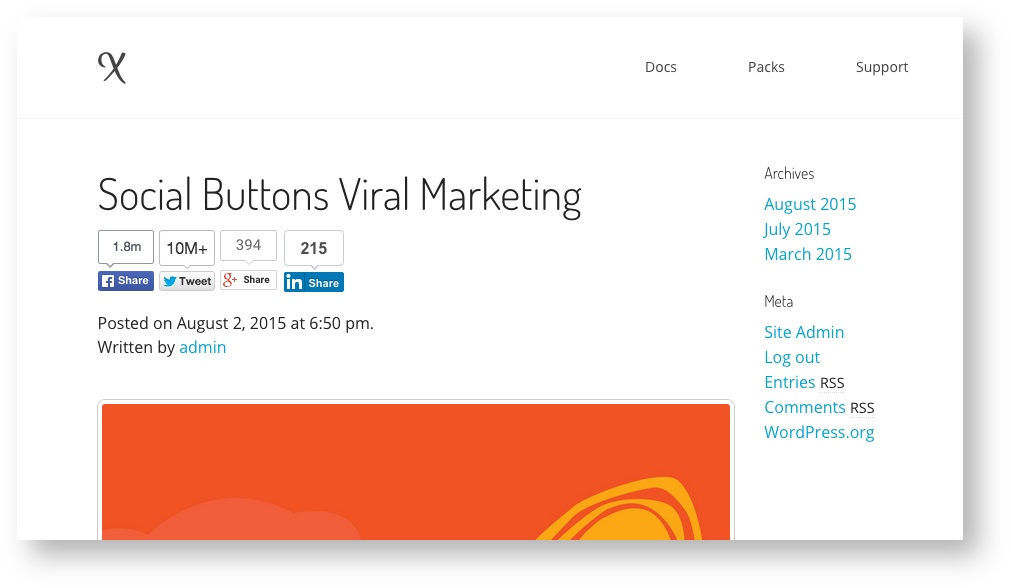
4. After saving the post, click 'View Post' or 'Preview Changes'. And you should the see the buttons under the title and after post content as shown in the image below.

Thank you for checking out this tutorial!