Plugin Installation
- Gautam Thapar
IMPORTANT: Please remove the lite version of Buttons X before installing the paid version.
Buttons X installation doesn't differ from any other plugin installation process, so you might be familiar with this process already. If not, please follow instructions below.
1. Login to your website.
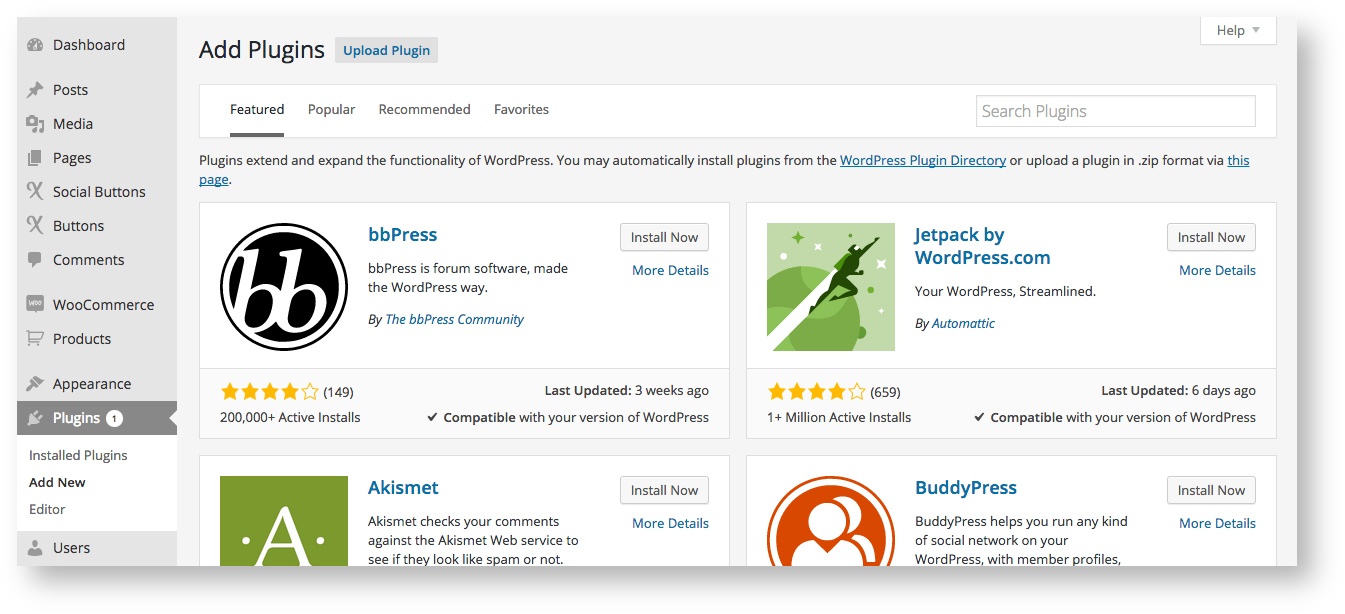
2. Go to 'Plugins' > 'Add New'.
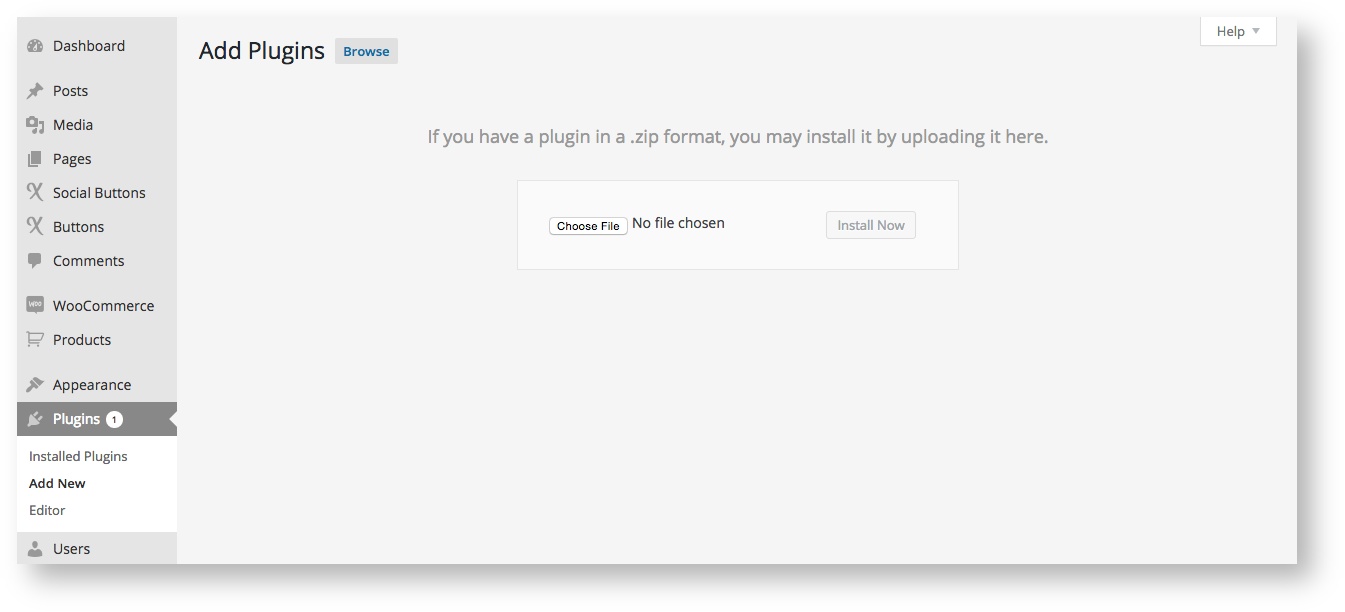
3. Click 'Upload Plugin'.
4. Browse to the plugin's zip file (it is located in the archive you've downloaded from CodeCanyon) and choose that file. You can download the installable zip file only or the complete plugin package. If you have downloaded the complete package then see the image below on how to get the installable zip file.

5. Click 'Install Now' button.
6. Wait while plugin is uploaded to your server.
7. Click 'Activate Plugin' button.
Congratulations, you are all set! To start creating buttons visit 'Buttons' > 'Add New'. Also make sure to check 'Buttons' > 'Settings' for available settings.