/
Plugin Settings
Plugin Settings
- Gautam Thapar
Owned by Gautam Thapar
Last updated: Jan 12, 2016
Buttons X comes with a customised settings panel. The first thing to do after installing the plugin is to set the plugin settings. Navigate to 'Buttons' > 'Settings'.
Available settings:
- Content Filter
- After Content
- Post Types - Here you can select the post, page or custom post types you want buttons to appear after content.
- Buttons - The buttons you want to appear after the content on every post, page and/or custom post types selected in post types above.
- Wrap Centre - Make the buttons appear centred.
- All Sides - Set margin for all sides. This field is not saved. It should be used to apply same margin value to all sides.
- Top - Set top margin for button container.
- Bottom - Set bottom margin for button container.
- Left - Set left margin for button container.
- Right - Set right margin for button container.
- Before Content
- Post Types - Here you can select the post, page or custom post types you want buttons to appear before content.
- Buttons - The buttons you want to appear before the content on every post, page and/or custom post types selected in post types above.
- Wrap Centre - Make the buttons appear centred.
- All Sides - Set margin for all sides. This field is not saved. It should be used to apply same margin value to all sides.
- Top - Set top margin for button container.
- Bottom - Set bottom margin for button container.
- Left - Set left margin for button container.
- Right - Set right margin for button container.
- After Content
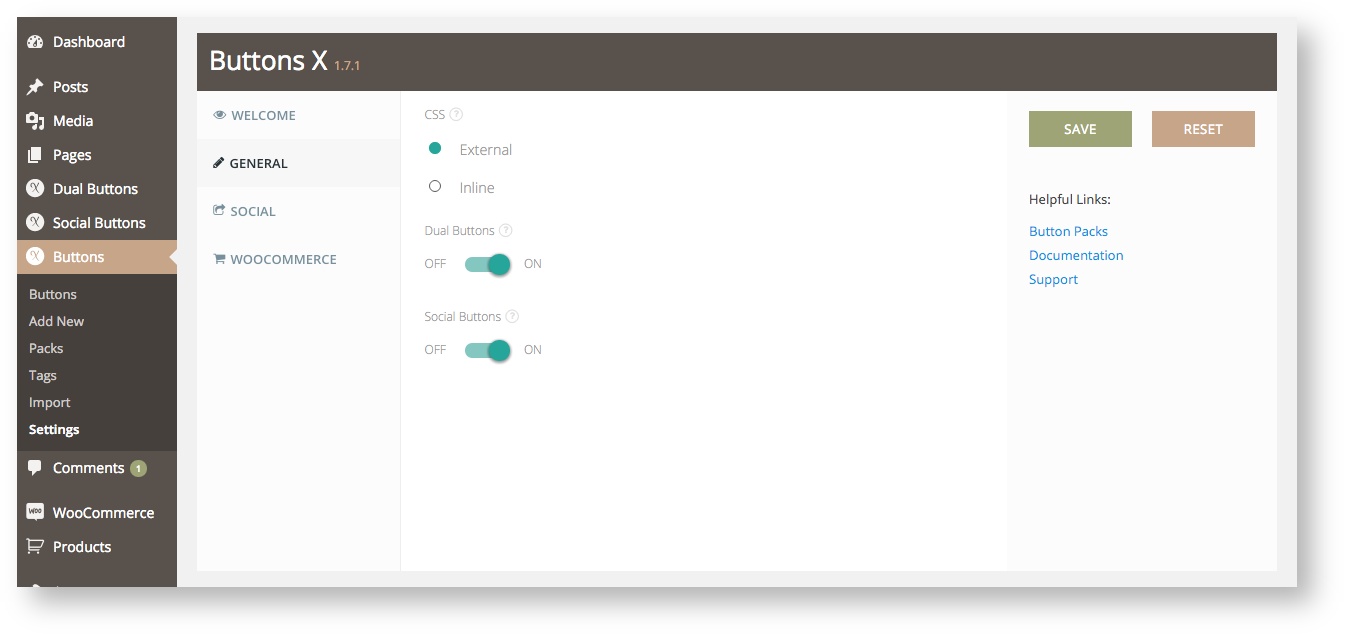
- General
- CSS - Here you can choose to load button CSS through an external file or inline.
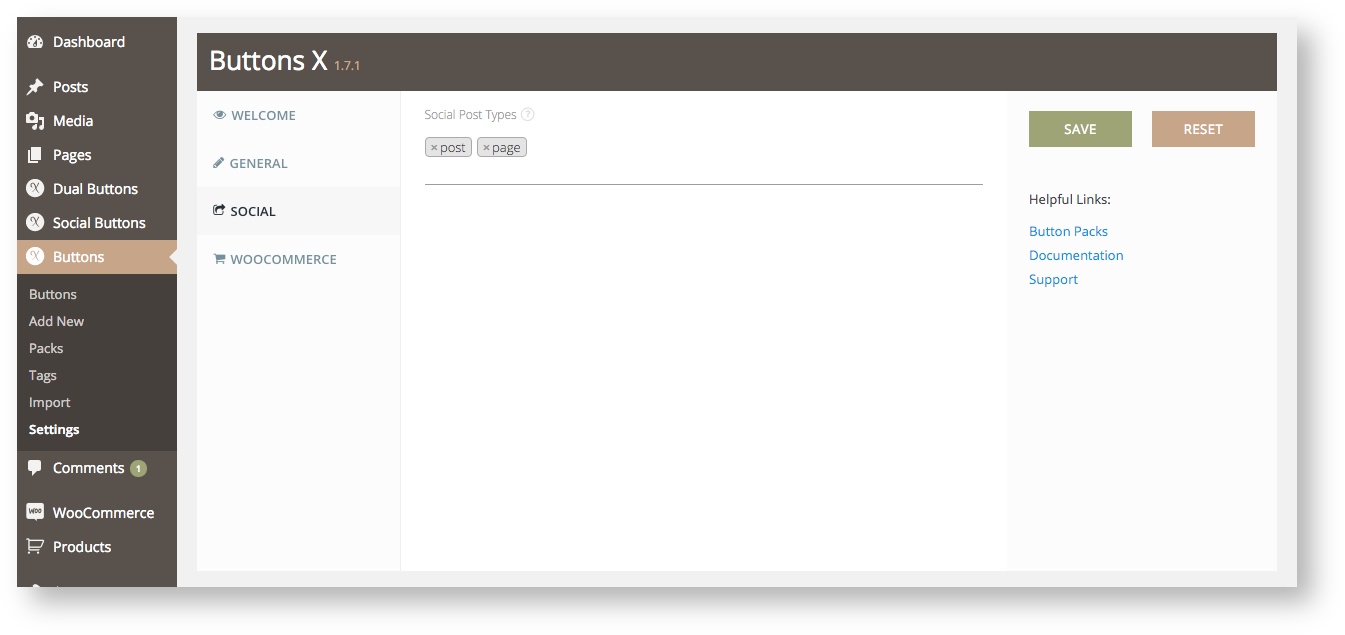
- Social
- Social - Select the post types on which you would want to enable social buttons meta box.
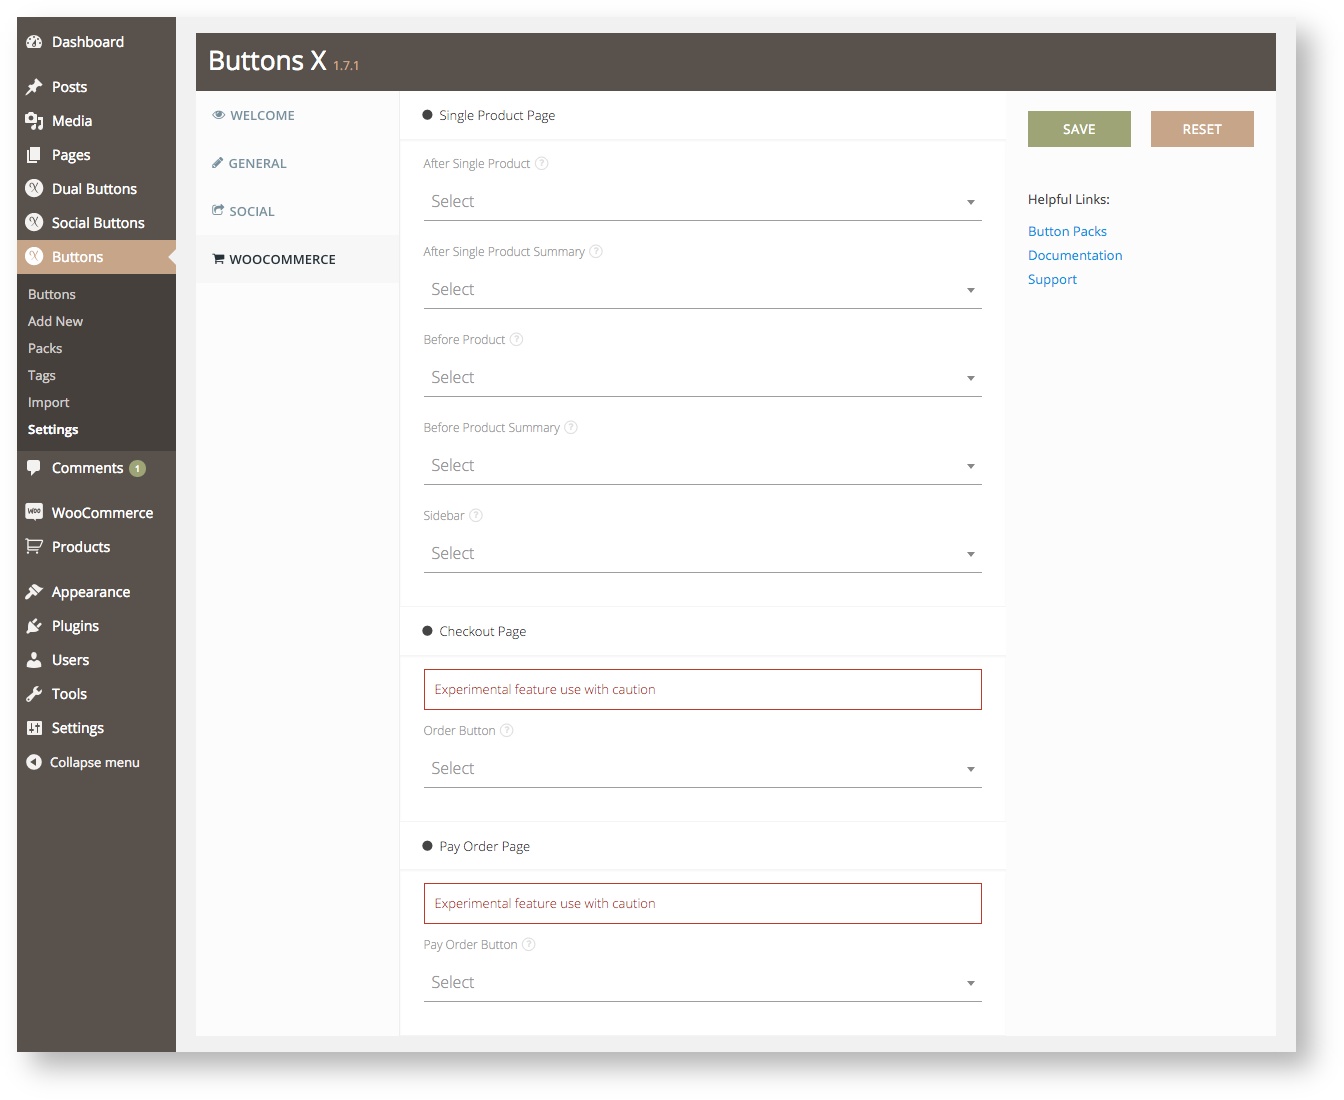
- WooCommerce
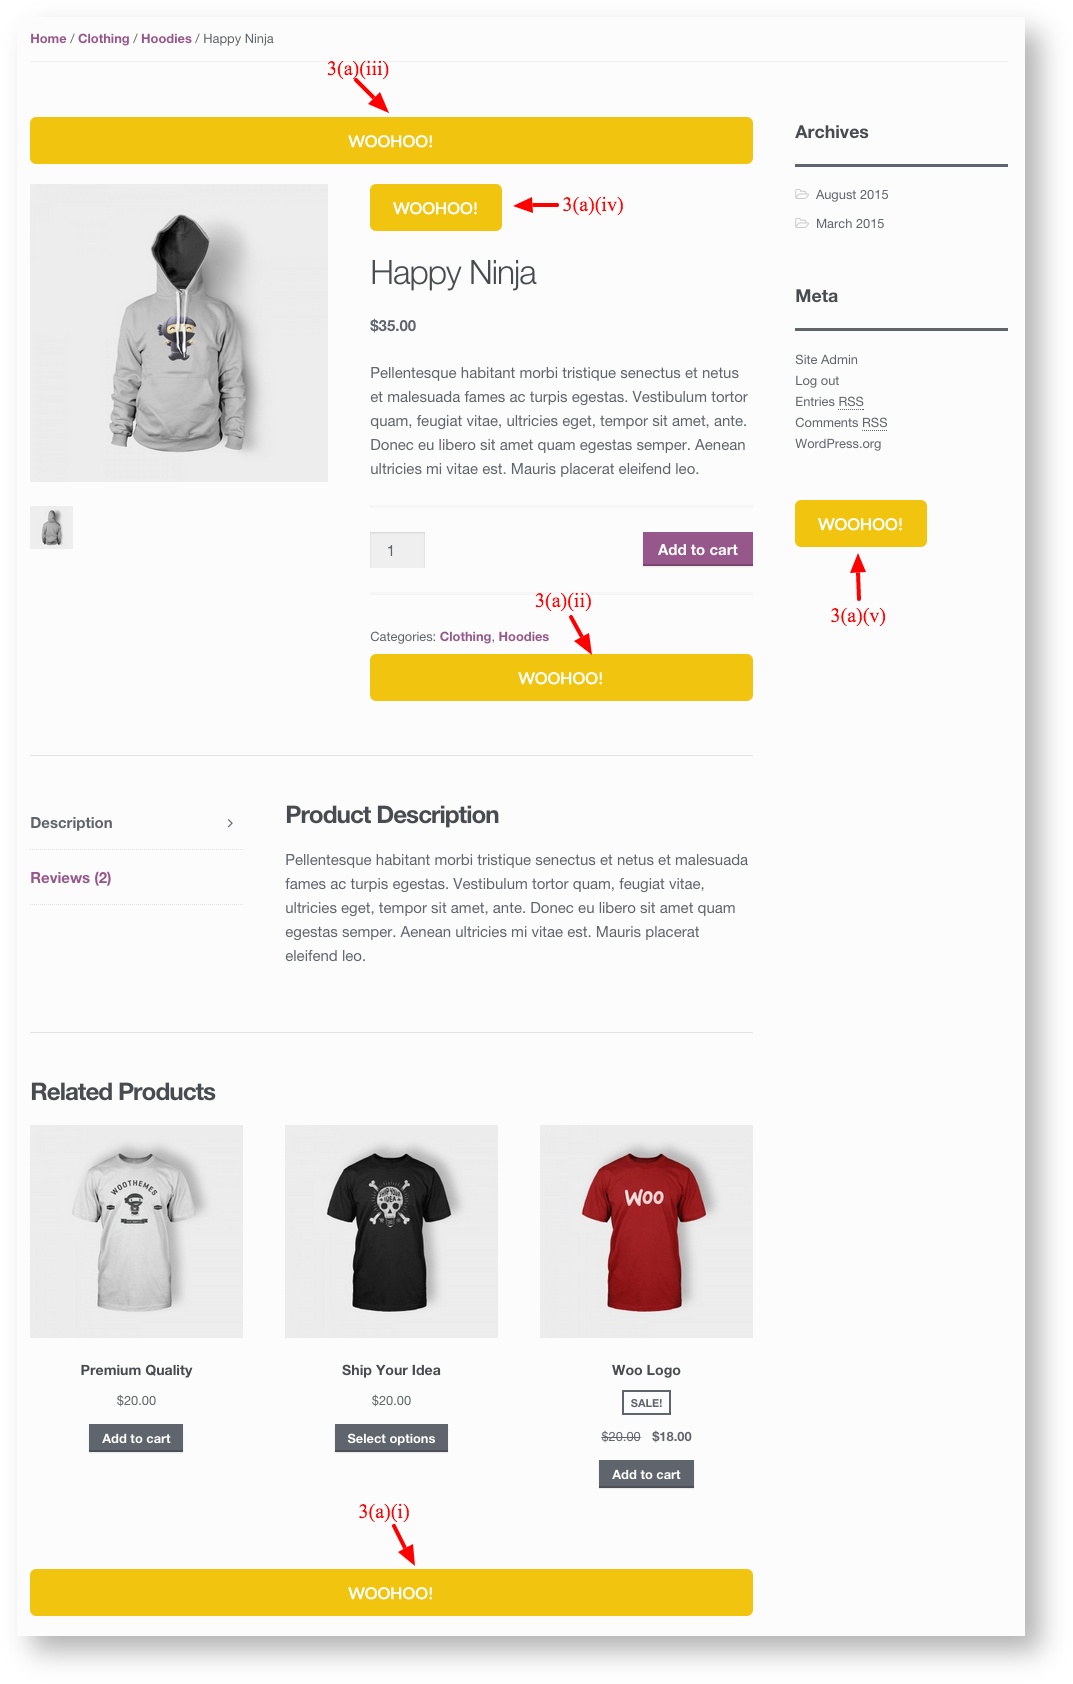
- Single Product Page
- After Single Product - Add button on WooCommerce single product page after product.
- After Single Product Summary - Add button on WooCommerce single product page after product summary.
- Before Product - Add button on WooCommerce single product page before product.
- Before Product Summary - Add button on WooCommerce single product page before product summary.
- Sidebar - Add button on WooCommerce single product page sidebar.
- Checkout Page
- Order Button - Replace checkout page button.
- Pay Order Page
- Pay Order Button - Replace pay for order page button.
- Single Product Page
Once you have made your choices, click 'Save'. If everything goes fine, you should see 'Settings saved' notification.
, multiple selections available,
Related content
Plugin Installation
Plugin Installation
More like this
Responsive Options
Responsive Options
More like this
Buttons Tab
Buttons Tab
More like this
Creating a Simple Button
Creating a Simple Button
More like this
Export & Import
Export & Import
More like this